Be a Hut Gourmand
Meals take on added satisfaction in the backcountry, and with a little prep, you can enjoy delicious fare without a lot of work.
Job one is water. All huts have wood-burning stoves (and chopped wood) that you can use to melt snow or to boil and purify water from summertime streams and ponds. Four-burner propane stoves are standard, as are cooking utensils, basic spices and, on occasion, cooking oil. Pastas with sauces complimented by fresh veggies, cheese and other ingredients are favorites. For meats, try freezing double zip-locked portions with marinades at home. By hut arrival, they’ll be freshly defrosted. For great hut trip recipes, click the links at the bottom of this post.
Libations? For wine, buy a boxed wine and pack just the plastic inner pouch. Coffee drinkers might want to eschew the drip-style coffee pots in favor of alternative methods: You can find packable coffee grinders, mini French presses and other gourmet paraphernalia (including nesting, lightweight wine glasses) at www.gsioutdoors.com.
Backcountry Kitchen Tips
Hut trips are convivial affairs that call for more than instant oatmeal and rehydrated ramen, especially at breakfast and dinnertime. (Save the bars and premade PB&Js for lunch, while you’re playing in the great outdoors.) With the right planning and a little pretrip prep, you can enjoy impressive—if not gourmet—morning and evening meals with even the most rudimentary backcountry hut kitchen. Here are a few tips and recipes:
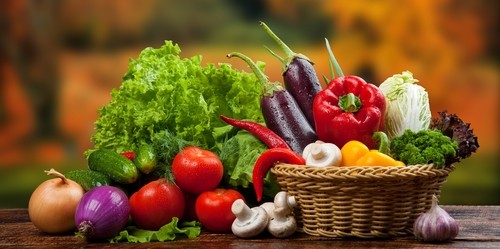
1. PACK LIGHTISH: As with any backpacking trip, you don’t want to pack more than you can carry on a hut trip. But fully equipped kitchens mean you can leave your camping stove, propane, dishes, utensils and dish soap at home. That frees up space and weight for you to carry more food, including some fresh produce and protein. Oranges, frozen grapes and apples travel well and are worth their weight in calories. Smoked salmon and tuna in vacuum-sealed bags are relatively lightweight and are a low-sodium alternative to jerky.
2. DOUBLE UP: When planning your menu, choose multiple recipes that use the same ingredients. For example, chopped vegetables can be sautéed with assorted spices and pasta for dinner and grilled with potatoes for breakfast.
3. BULK UP: Dry ingredients such as oats, rice, pasta, couscous, beans and seasoning are relatively lightweight and easy to transport. Buy only what you need from the bulk section of the supermarket or transfer what you need from the original cardboard box to resealable plastic baggies to avoid carrying and preparing more than you’ll eat.
4. KNOW YOUR ENEMIES: Dairy milk, yogurt, bread, bananas and eggs don’t travel well, especially in warm weather.
5. KNOW YOUR FRIENDS: Shelf-stable packaged meals and mealstarter kits combined with freshly prepared ingredients cut down prep time. Tortillas, pita and naan are lightweight, travel well and are more versatile than sliced bread. Shelf-stable almond or rice milk (which come in vacuum-sealed cardboard boxes) and wax-wrapped and hard cheeses can be transported safely. Once opened, store them in a makeshift hut refrigerator (see No. 6). When possible, transport precut produce and premeasured condiments (cooking oil, spices, vinegar) in lightweight Tupperware or resealable plastic bags, which pack up small and nest neatly for the hike out.
6. KEEP YOUR COOL: Soft-sided coolers and insulated lunch bags are great makeshift refrigerators. They pack up small for the hike in and out. At the hut, place resealable plastic bags filled with snow in the coolers to keep rice or almond milk and other perishables cold once opened.
Recipe Ideas:
Breakfast: Fruit & Cheese Quesadillas
Dinner: Spicy Peanut Butter Pasta
Dinner: Madras Lentils Tacos
Breakfast: Banana & Peanut Butter Pancakes


Comments