
Shop Ingredients
How this works
Servings: 3
Calories: 195kcal
Ingredients
- Extra-virgin olive oil cooking spray
- 1 small orange
- 2 ounces soft goat cheese, at room temperature
- 2 tablespoons heavy cream
- 1/2 cup thinly sliced radicchio
- Drizzle of balsamic vinegar
Premade Cali'flour Crust:
DIY Cali'flour Crust:
- 5 ounces (1 cup loosely crumbled) Cauliflower Meal (see below)
- 1/2 cup shredded low-moisture whole milk mozzarella cheese (no fresh)
- 1 large egg
Cali'flour Meal:
- 1 (3-pound) head cauliflower
Instructions
- If using Premade Cali'flour Crust: preheat oven to 425°. Coat a baking sheet or ovenproof skillet with cooking spray.
- Using a paring knife, remove peel and white pith from the orange, then slice it ¼-inch thick (a serrated knife works well), reserving the small ends for later. Place orange slices on prepared sheet and roast 15 to 20 minutes, until softened and blackened in spots.
- Put goat cheese in a small bowl. Add cream and whisk with a fork to incorporate. Spread goat cheese over the crust. Set roasted orange slices on the crust and arrange slices of radicchio between the orange slices. Finish with a squeeze of reserved orange ends and vinegar, then slice and serve.
For DIY Cali'flour Crust:
- Preheat the oven to 350°F (175°C) and line a baking sheet with parchment paper.
- In a medium bowl, combine all the ingredients and mix with a rubber spatula to incorporate. Form the dough into a disc shape, then using your hands, press the dough out onto the prepared baking sheet to form an even 9-inch (23-cm) circle). Place in the oven and bake for about 30 minutes, until firm and lightly browned. Remove from the oven and use a metal spatula to slide the crust onto a wire rack to cool before adding your toppings. If you’re not using the crust right away, store in a zip-top freezer bag in the freezer for up to 9 months. Do not refrigerate.
Cali'flour Meal:
- Preheat the oven to 350°F (175°C) and line a baking sheet with parchment paper.
- Cut the cauliflower into quarters through the core, then cut out the core and leaves from each quarter in one cut. Trim any remaining core and leaves (it’s OK to leave a little of the stems from the cauliflower attached to the florets).
- Break the cauliflower into approximately 2-inch (5-cm) florets (figure 5). It’s OK if they are a little bigger or smaller—it’s more important that they be more or less equal in size. Put half of the cauliflower in a food processor (figure 6) and process, stopping to scrape the sides of the bowl with a spatula a few times, until the cauliflower is uniformly broken down to the texture of wet sand. You might be tempted to stop here, but keep on going. Continue to process, stopping to scrape the sides of the bowl with a spatula a few times, until the blade easily moves the mixture around to create a wet, smooth, creamy mashed potato texture with little flecks. If any chunks larger than a green pea remain from the first batch (check by spreading the first batch over the baking sheet and running your fingers through it), add them to the second batch. Repeat with the remaining cauliflower.
- Spread the cauliflower on the prepared baking sheet in an even layer and bake for 15 minutes. The object of baking is to release moisture from the cauliflower without browning it. There won’t be much of a visual change—if it starts to brown, remove it from the oven immediately. Cool the cauliflower on the sheet completely.
- Put about one quarter of the cauliflower meal in a nut milk bag or wrap it in four layers of cheesecloth. Twist, then wring the liquid out over a bowl or the sink. Break the soon-to-be meal apart, then twist again until it is as dry as you can get it. Repeat this four or five times, until you can’t squeeze out any more liquid. If your wrist starts to get tired, that’s a good sign. Think of it as a mini arm workout! Expect to drain up to 2 cups (480 ml) liquid (the amount will vary for each batch). You should be able to form the final product into a smooth round that can crumble somewhat easily but still hold its form fairly well, like soft clay. Use as directed in your recipe, or cover and refrigerate immediately (cauliflower meal starts to turn very quickly when left out). It will keep in the refrigerator for up to 3 days. Do not freeze.
Notes
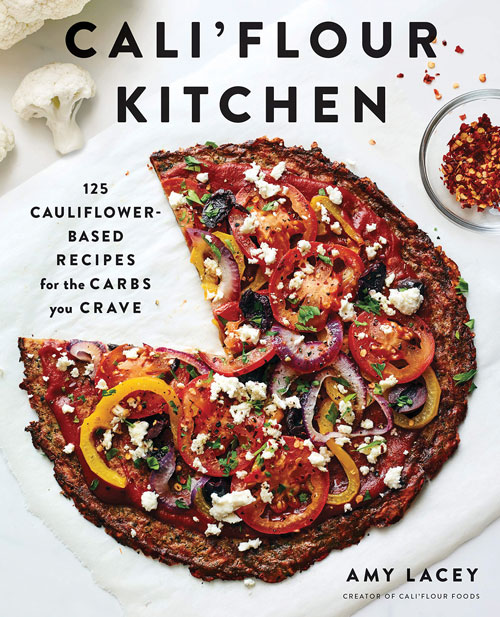 Adapted from Cali’flour Kitchen © 2019 by Amy Lacey. Published by Abrams. All rights reserved.
Nutrition
Calories: 195kcal | Carbohydrates: 8g | Protein: 20g | Fat: 8g | Sodium: 1339mg | Fiber: 1g | Sugar: 3g
Tried this recipe?Mention @WPRecipeMaker or tag #wprecipemaker!
Rate This Recipe
Share this Post
DID YOU MAKE THIS RECIPE?
Leave a comment below and share a picture on Instagram with the hashtag #livenaturallymagazine


Comments